Today we are going to see how we integrate Adobe Campaign Classic with Dynamics 365.
Let’s get started immediately as I only have 30 minutes to write this article.
Step 1: Copy the value of “Unique Name” from Dynamics
Open Dynamics >> Go to Settings >> Customization
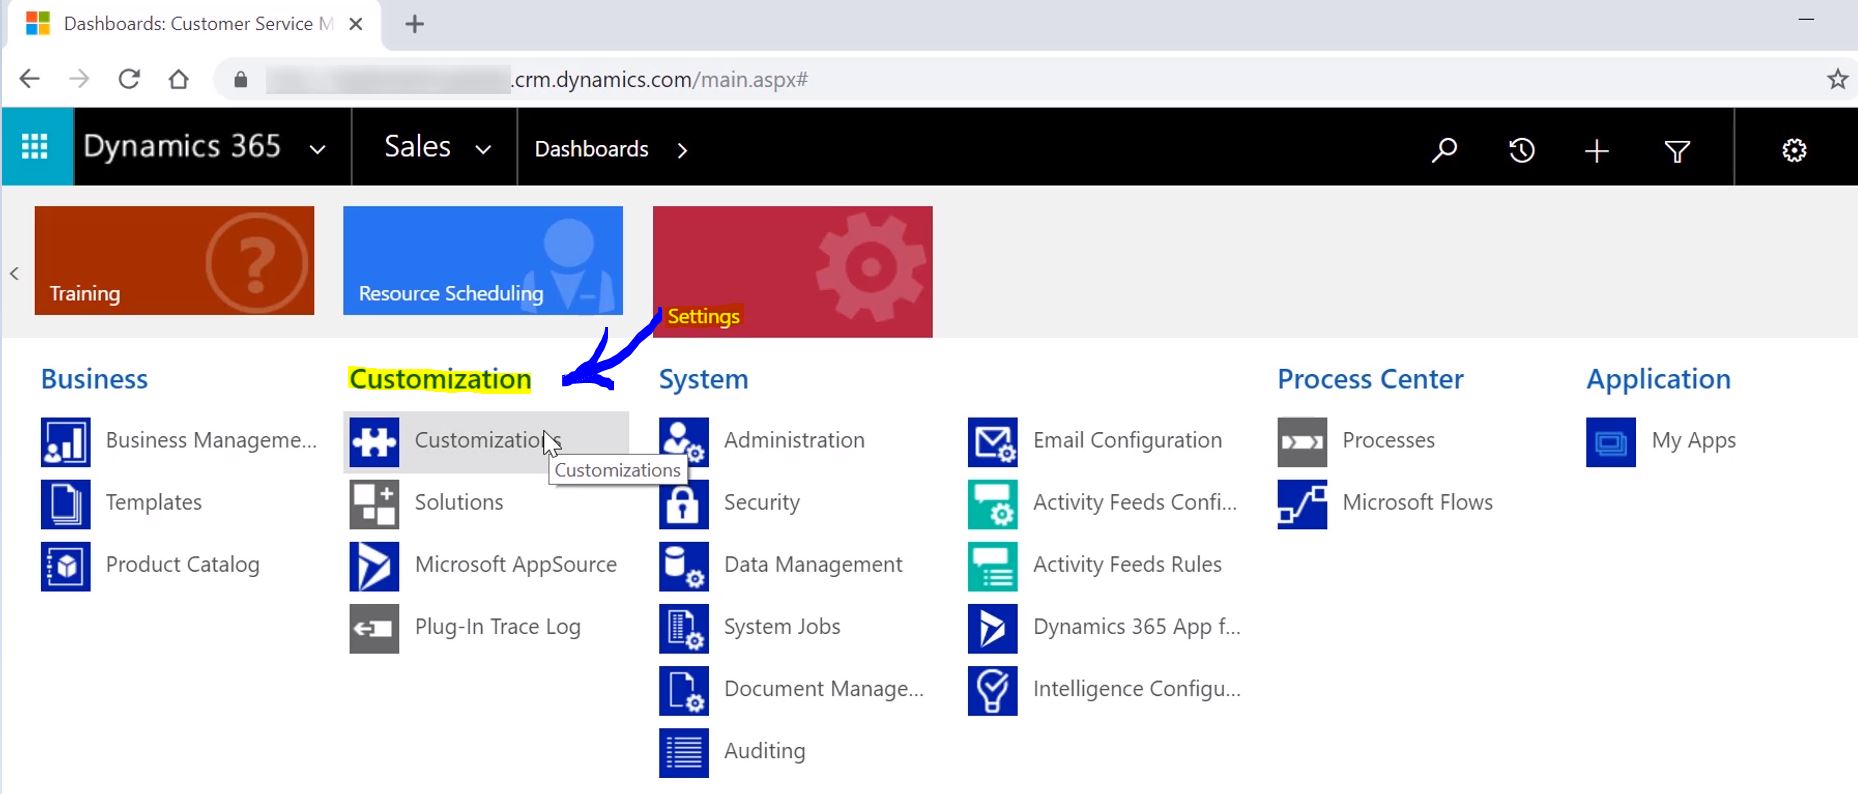
Click on Developer Resource.
This is where our developer resource is located. This is where you will find all the tools to set up your integration.
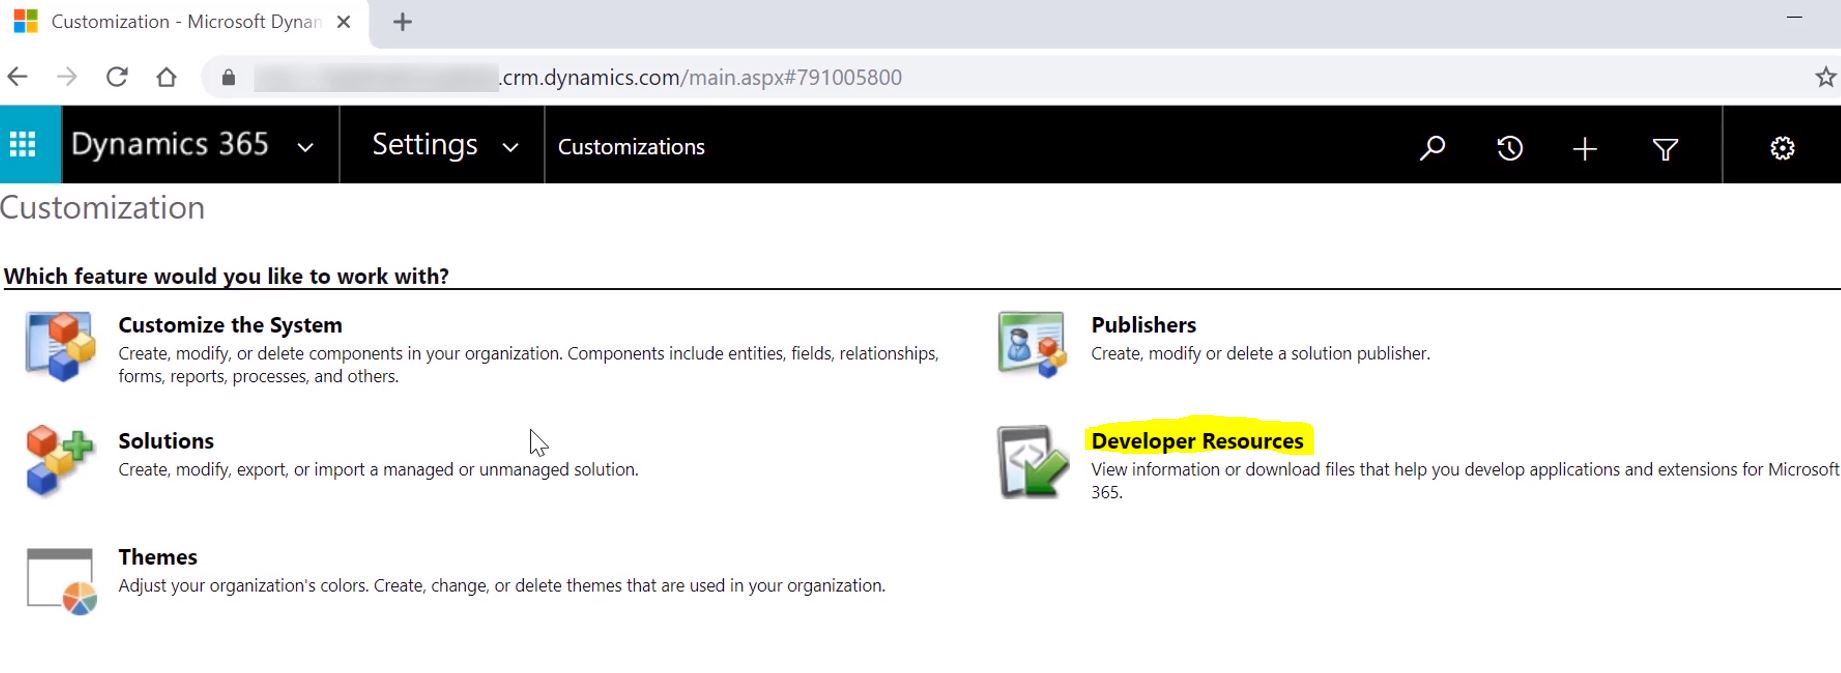
After clicking on Developer resources you will get the below screen. All you have to focus on this screen is “Unique Name”.You have to copy this value into Adobe Campaign.

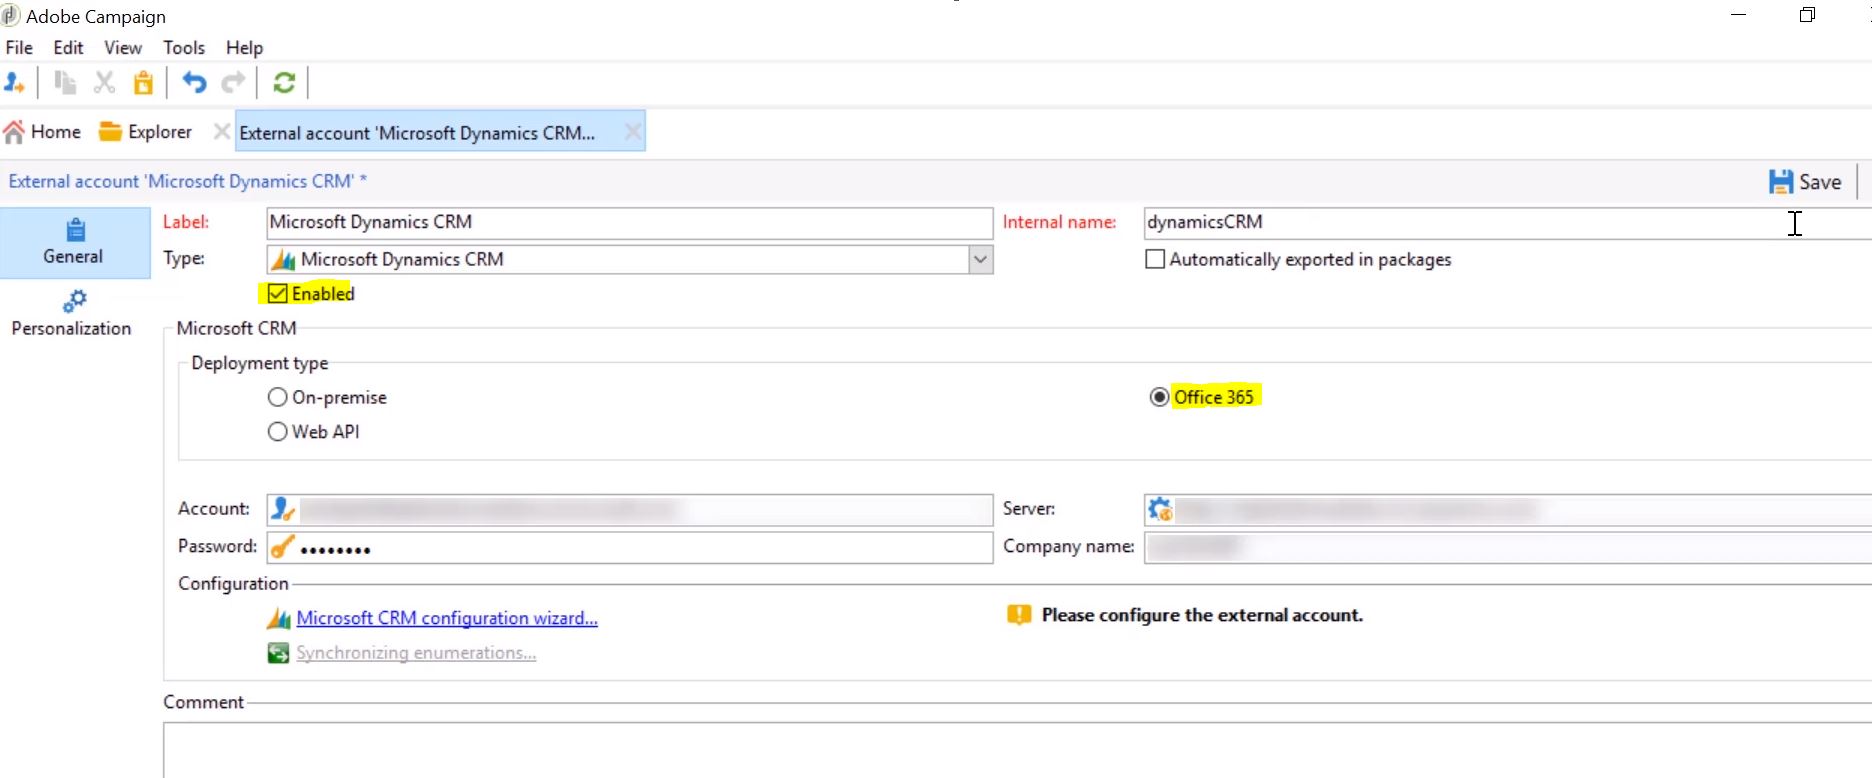
Step 2: Setup the Microsoft CRM external account on Adobe Campaign
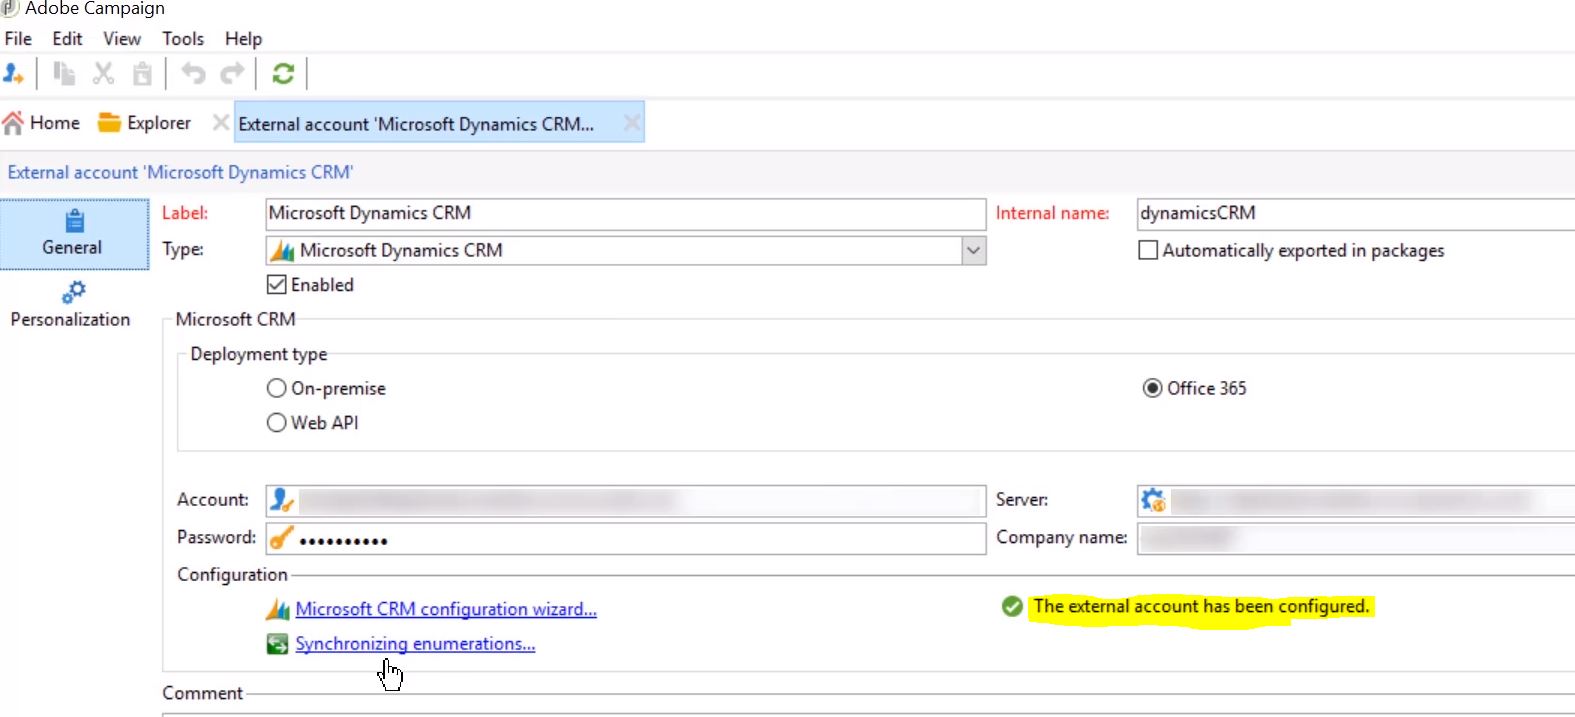
Open Campaign >> Administration >> Platform >> External Accounts >> select your Microsoft CRM external account (create one this is the first time you are configuring the CRM connector)
Our Account, Password, and Server are the information that you use to sign in into dynamics on the web. The Account is your email address, the password is your password and server is the dynamics URL.
The “Company name” is the “Unique Name” that we just copied from the dynamics dashboard in step 2.
Do not forget to click on the “enable” checkbox and select the correct “deployment type”.For this demo we are using “Offics 365”, but these are other versions as well.
Step 3: Verifying the integration.
Click on the link “Microsoft CRM configuration wizard” under Configuration. This will verify our integration. You will see that all the list of tables (out of the box and custom ones) that we have available on dynamics. So, this is the first confirmation that your integration is working properly.
You can select the tables that you want to bring into Adobe Campaign from dynamics.
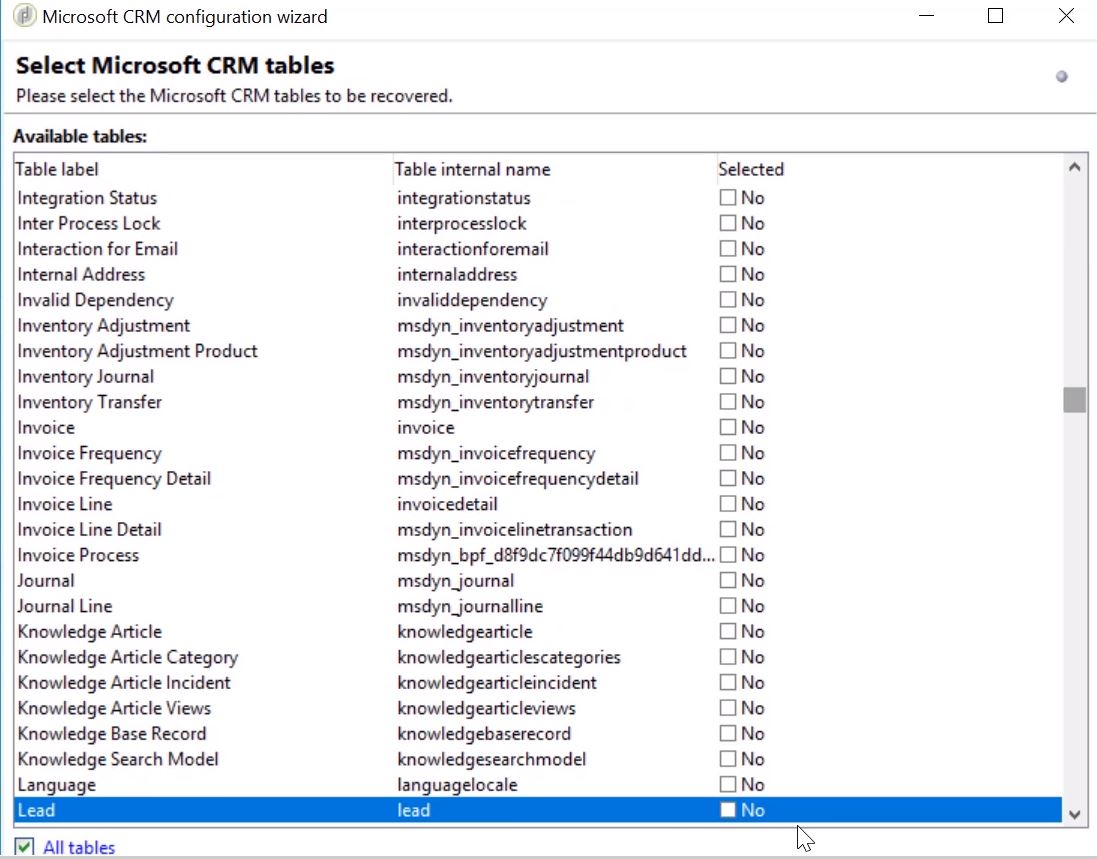
Once you select a table and select “Next”, Adobe Campaign will pull the table definitions in and do rest of the task for you.The corresponding schema will be created for your dynamics integration.
Now, once you log out an login, you will see that the external account has been configured.
Step 4: Check the imported lists
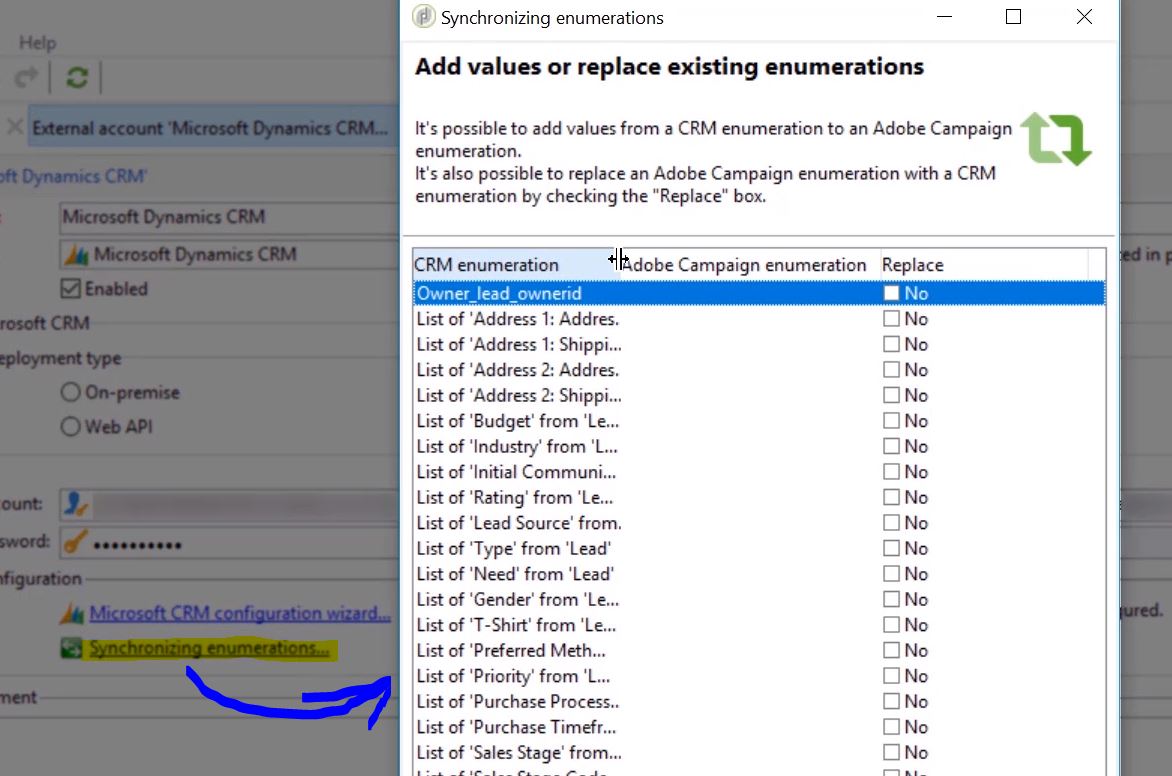
Click on “Synchronizing enumerations…” link to see all the lists (including custom lists) that have been pulled into Adobe Campaign.
Go to Administration >> Configuration >> Data Schemas.Here you will find all the tables (both OOB and customer ones) that you selected and imported from dynamics to Adobe Campaign.
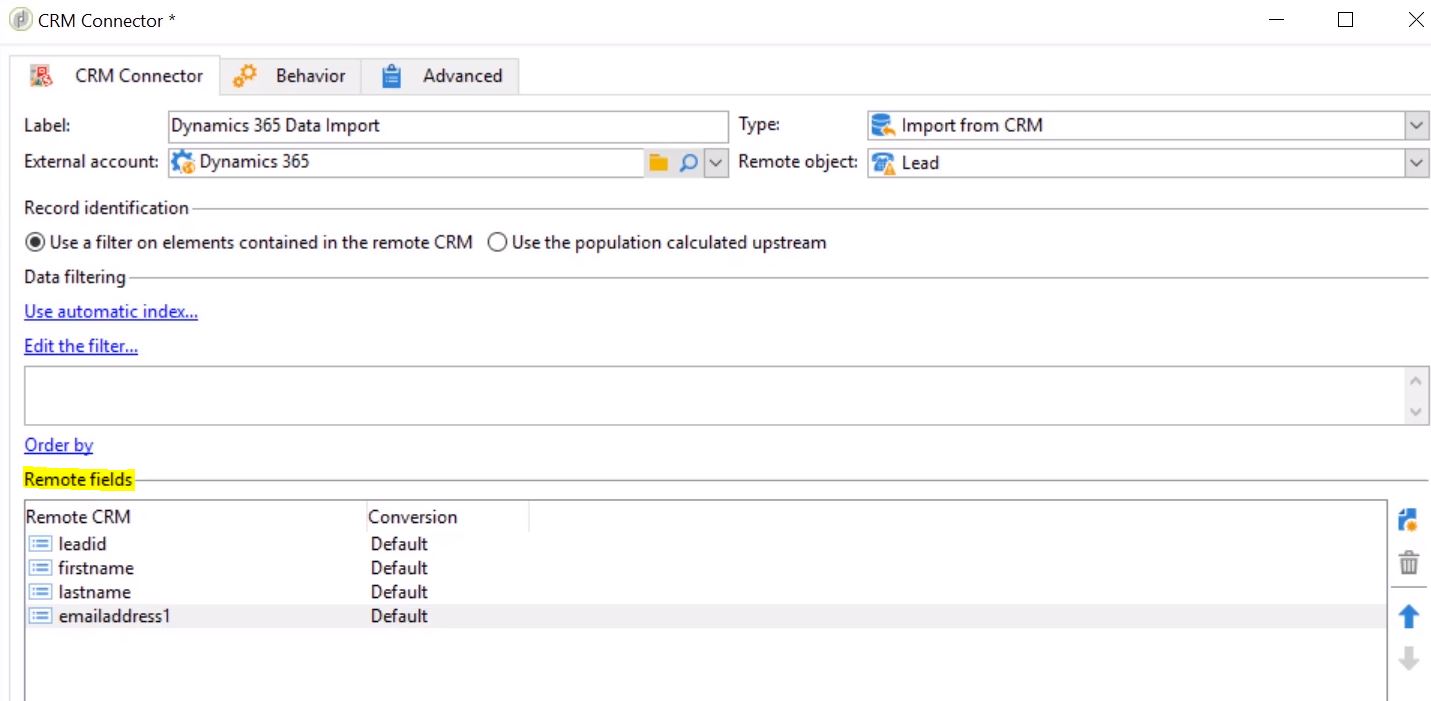
Step 5: Configure the “CRM connector” workflow activity
To finalize the integration we will create a workflow and then configure a “CRM connector” activity to pull in the integration that we just setup here.
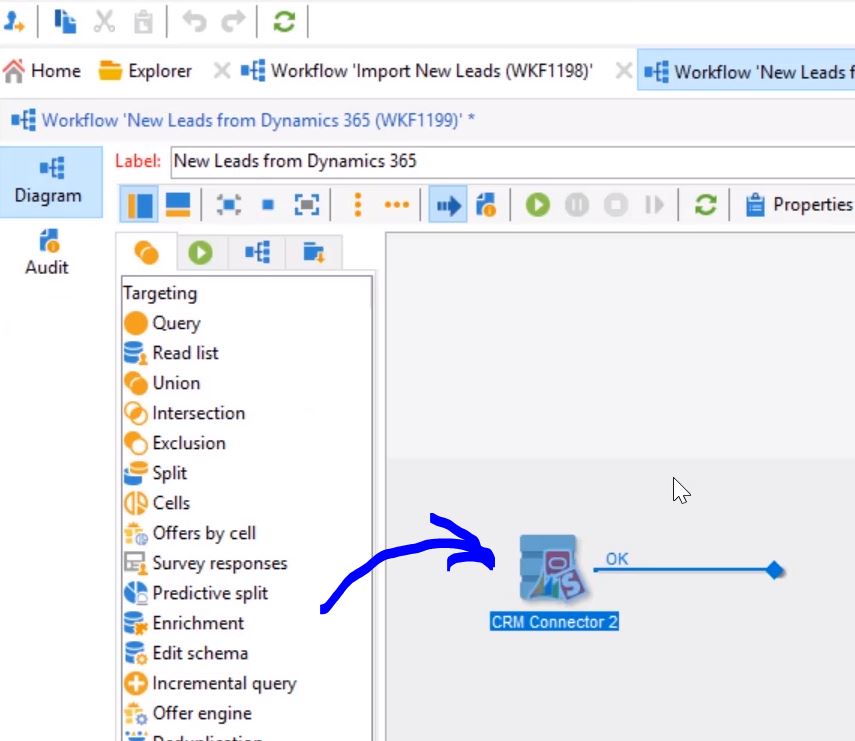
Select the table that you has imported from dynamics. In our case, it is the “Lead” table
Also, you have to pull in and map the fields from CRM to Adobe Campaign. This is done under the “remote fields” (as shown below)
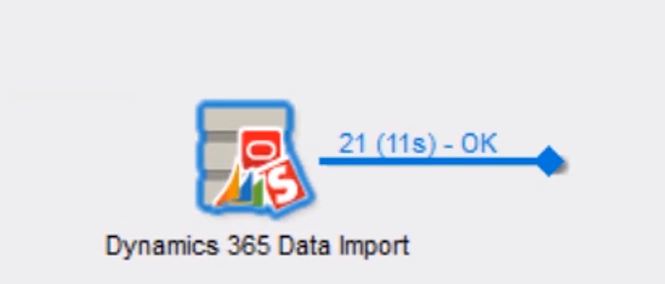
Step 6: Run the workflow and you get the data into Adobe Campaign
You simply run the workflow that you created above and you get the data into from Dynamics to Adobe Campaign.
Do a display target to see the fields and schema information.
That was simple right?
I love success stories, so let’s look at one now.
W.B. Mason Success Story: Adobe Campaign + Microsoft Dynamics
https://www.youtube.com/watch?v=bUXKU55ypXo
Hope this helps.
Related: https://docs.campaign.adobe.com/doc/AC/en/PTF_Connectors_CRM_Connectors.html